Strawberry Shrub
A Shrub is a drink that's made from a syrup made of fruit, sugar and vinegar. The rough ratio is usually 1:1:1. Mixed with sparkling water, it's a really refreshing…
0 Comments
June 16, 2026
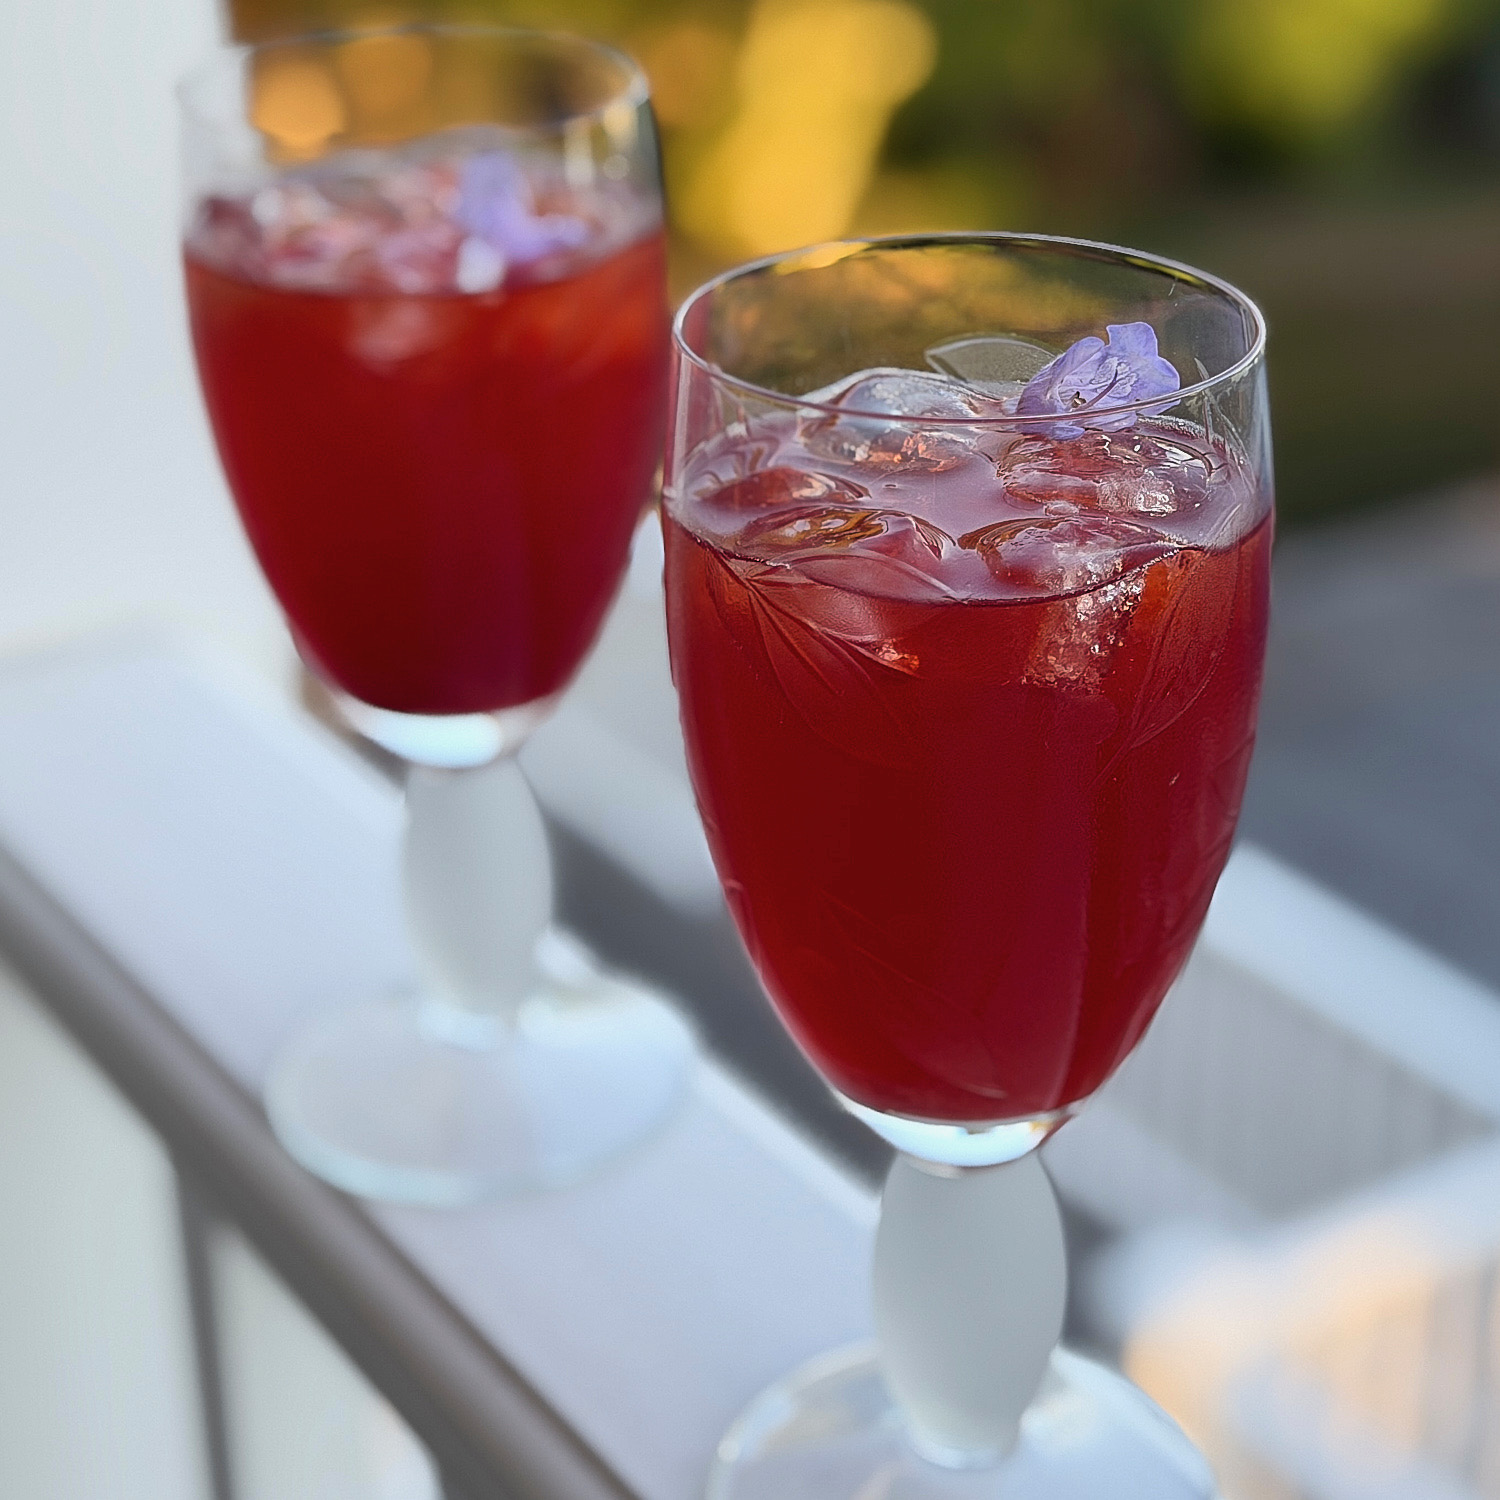
A Shrub is a drink that's made from a syrup made of fruit, sugar and vinegar. The rough ratio is usually 1:1:1. Mixed with sparkling water, it's a really refreshing…
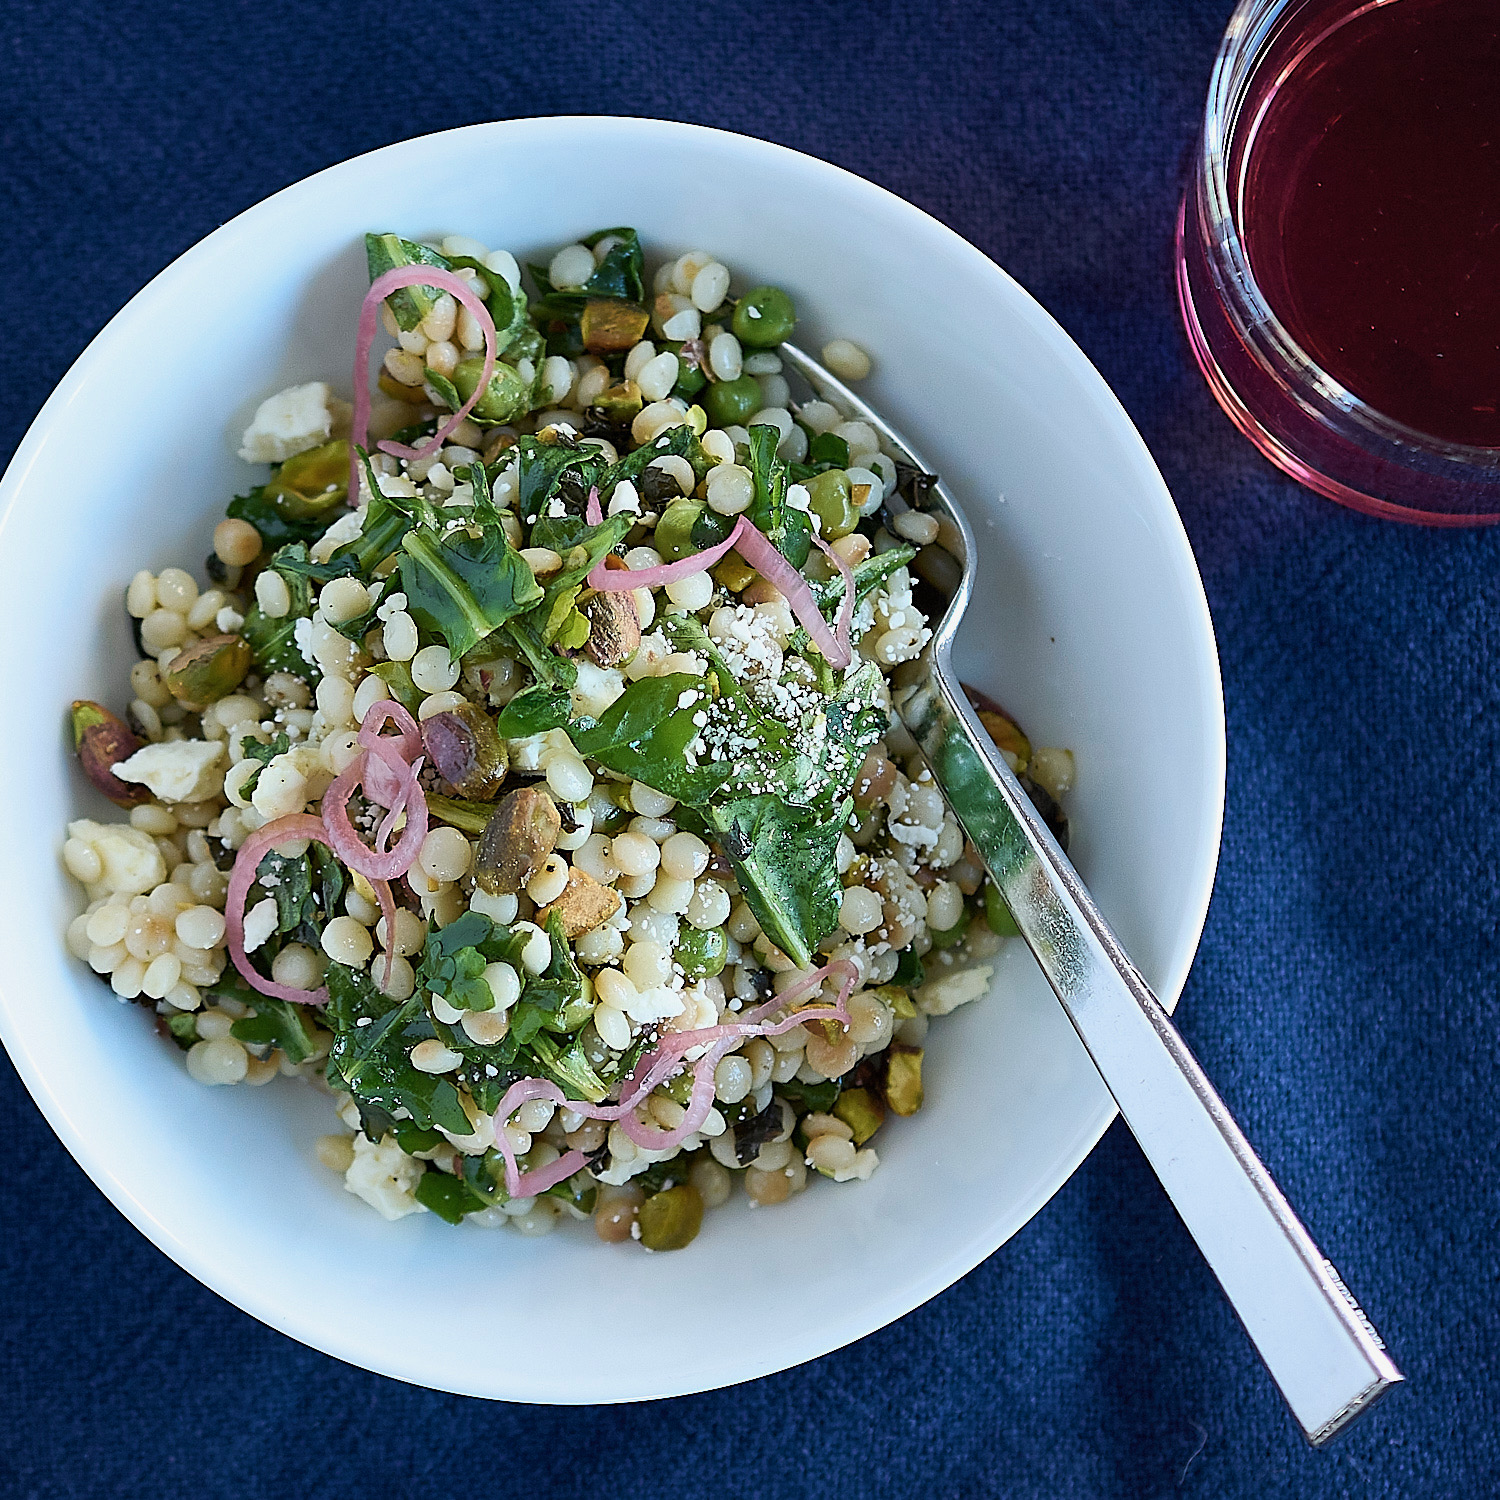
I'd like to clear up a quick kitchen mystery before we start: Israeli couscous and pearl couscous are the exact same thing. And yes, couscous is actually pasta!I have a…
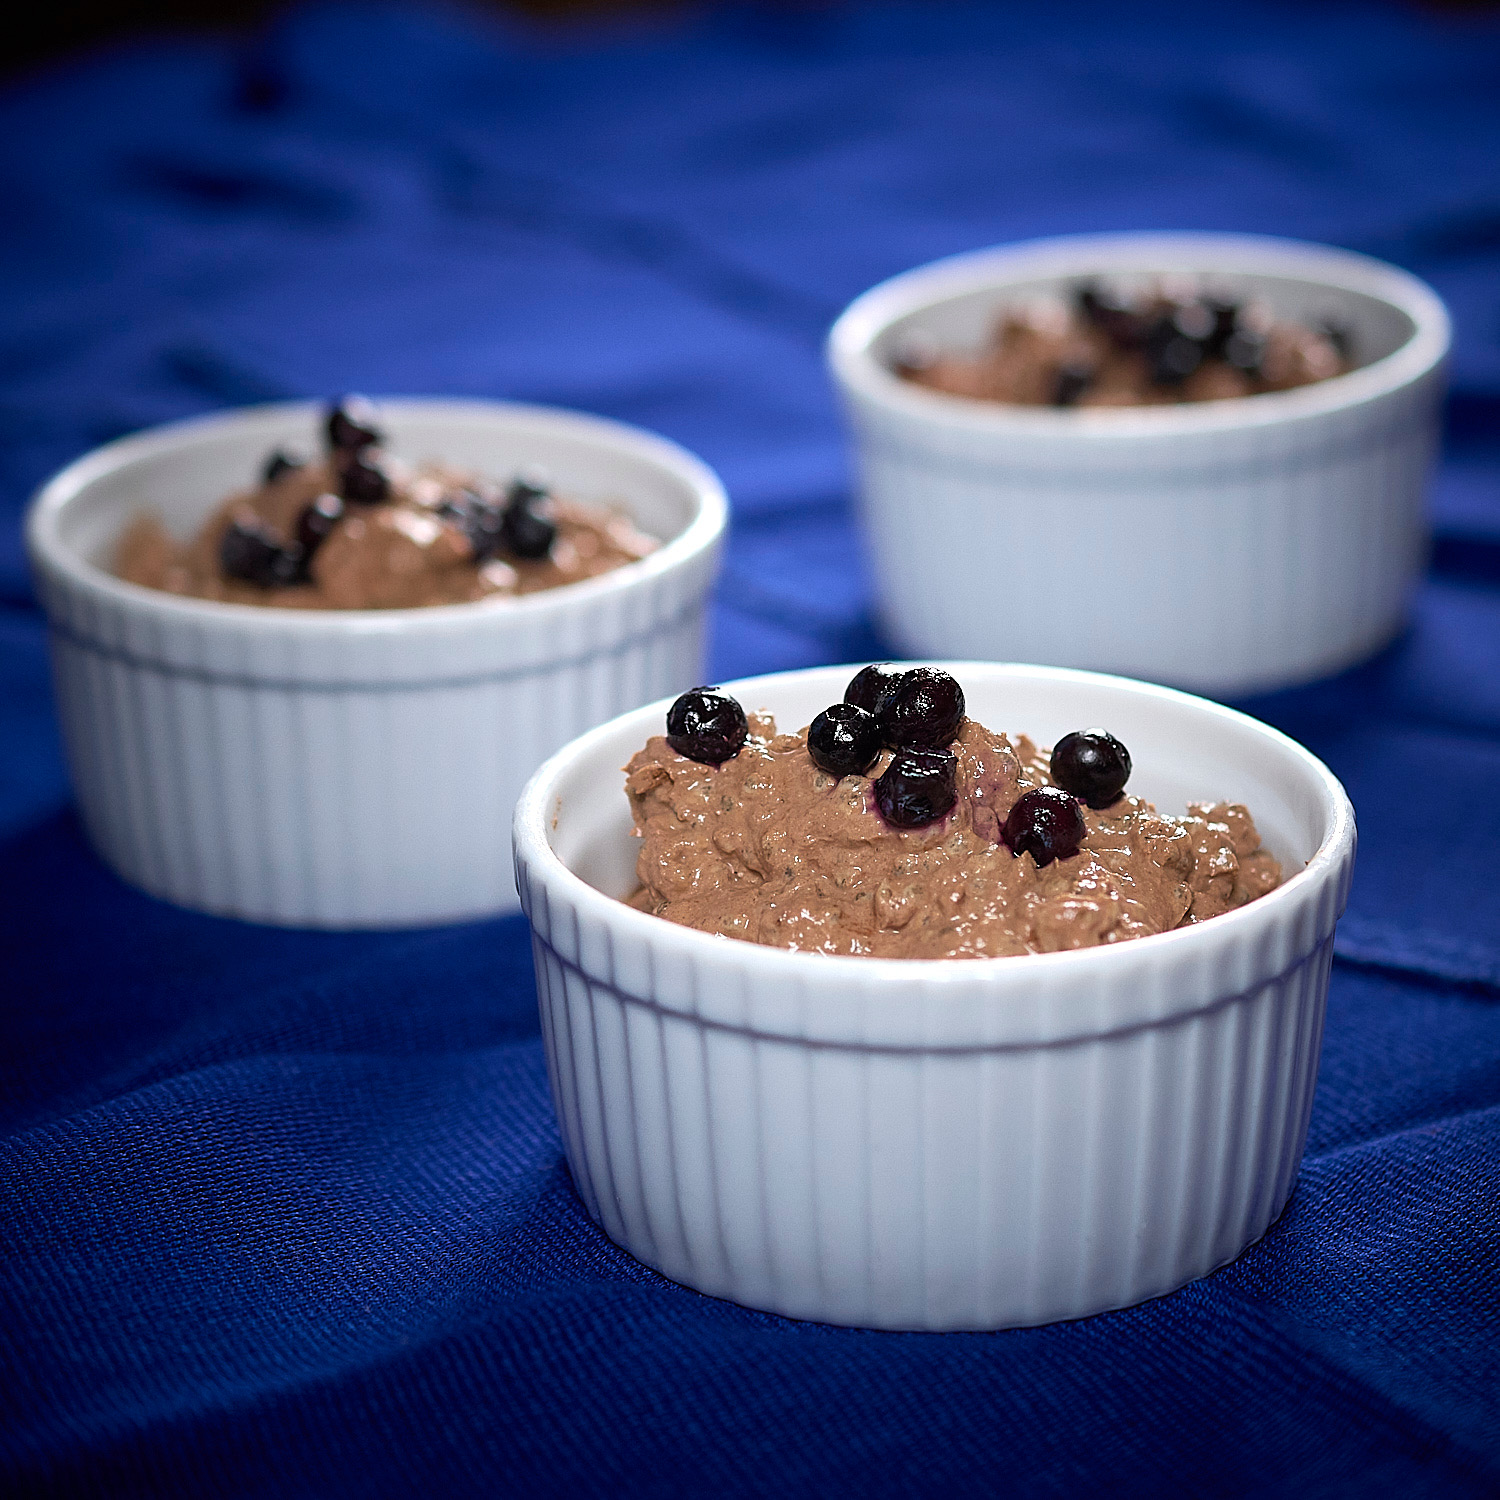
Chia pudding is a staple in our house. Believe it or not, it works just as well for dessert as it does for breakfast. I have a couple of chia…
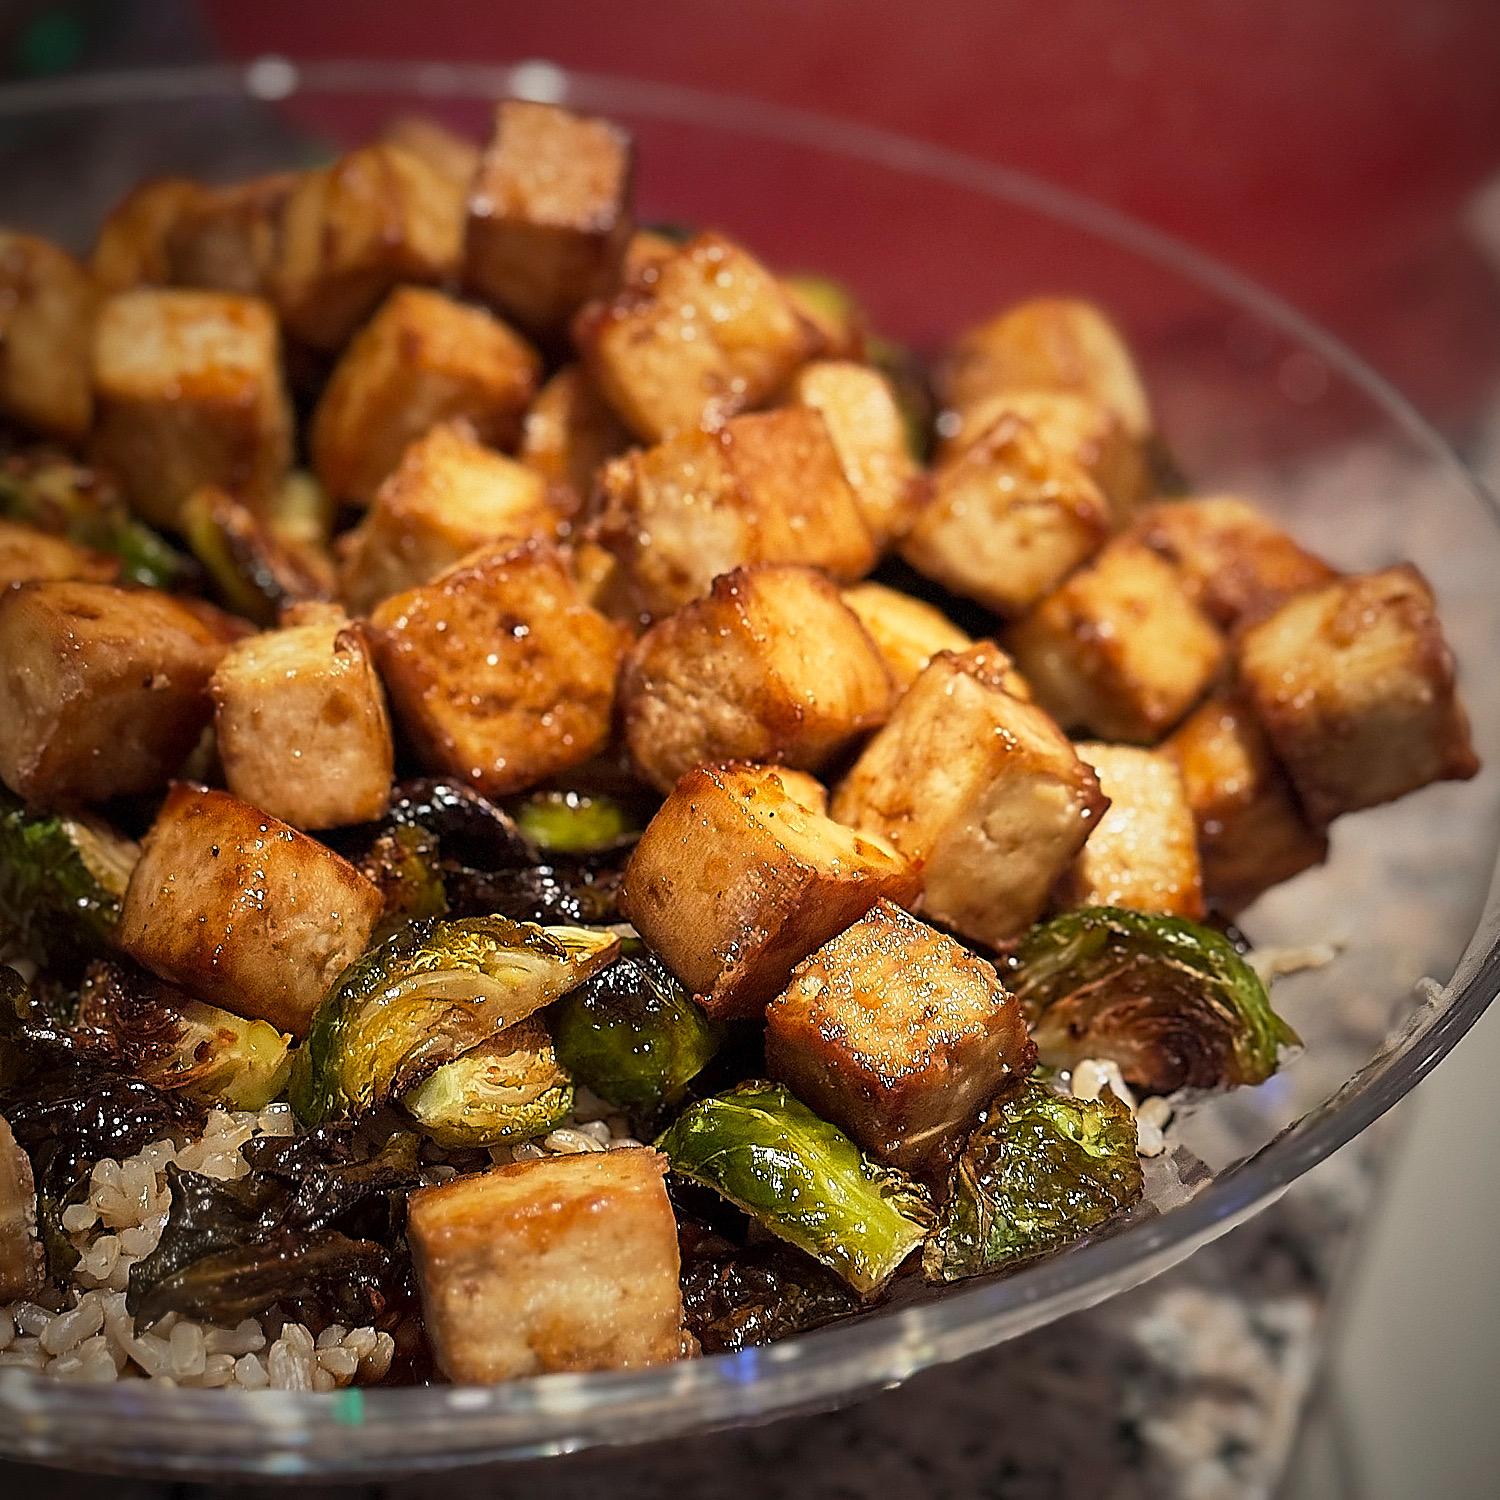
This dish has become part of our regular weeknight dinner rotation. It’s quick, easy, and delicious, and it comes together fast enough that you can make it after work and…
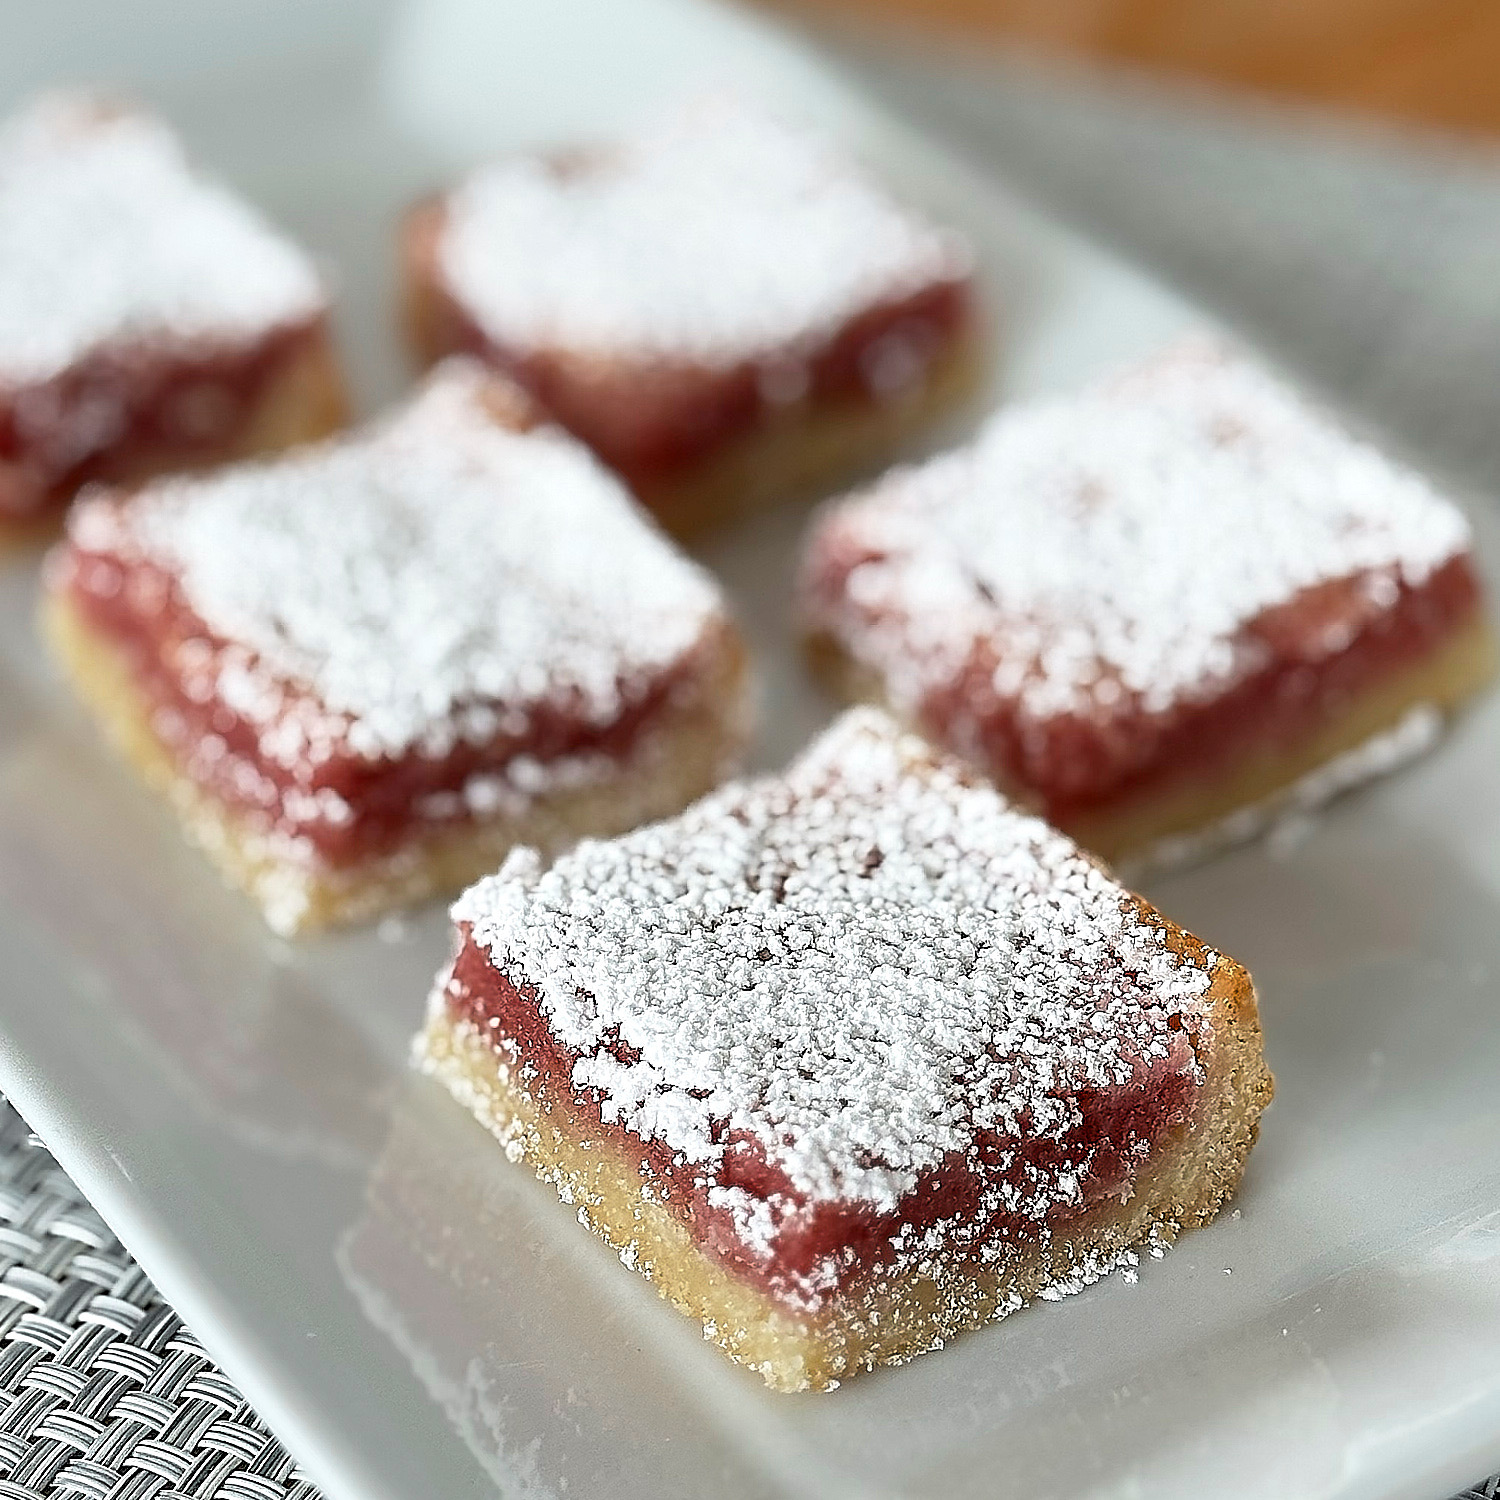
This recipe is a nice twist on traditional lemon bars. They're still tart like a lemon bar, but with a delicate raspberry flavor, and a really pretty pink hue. This…
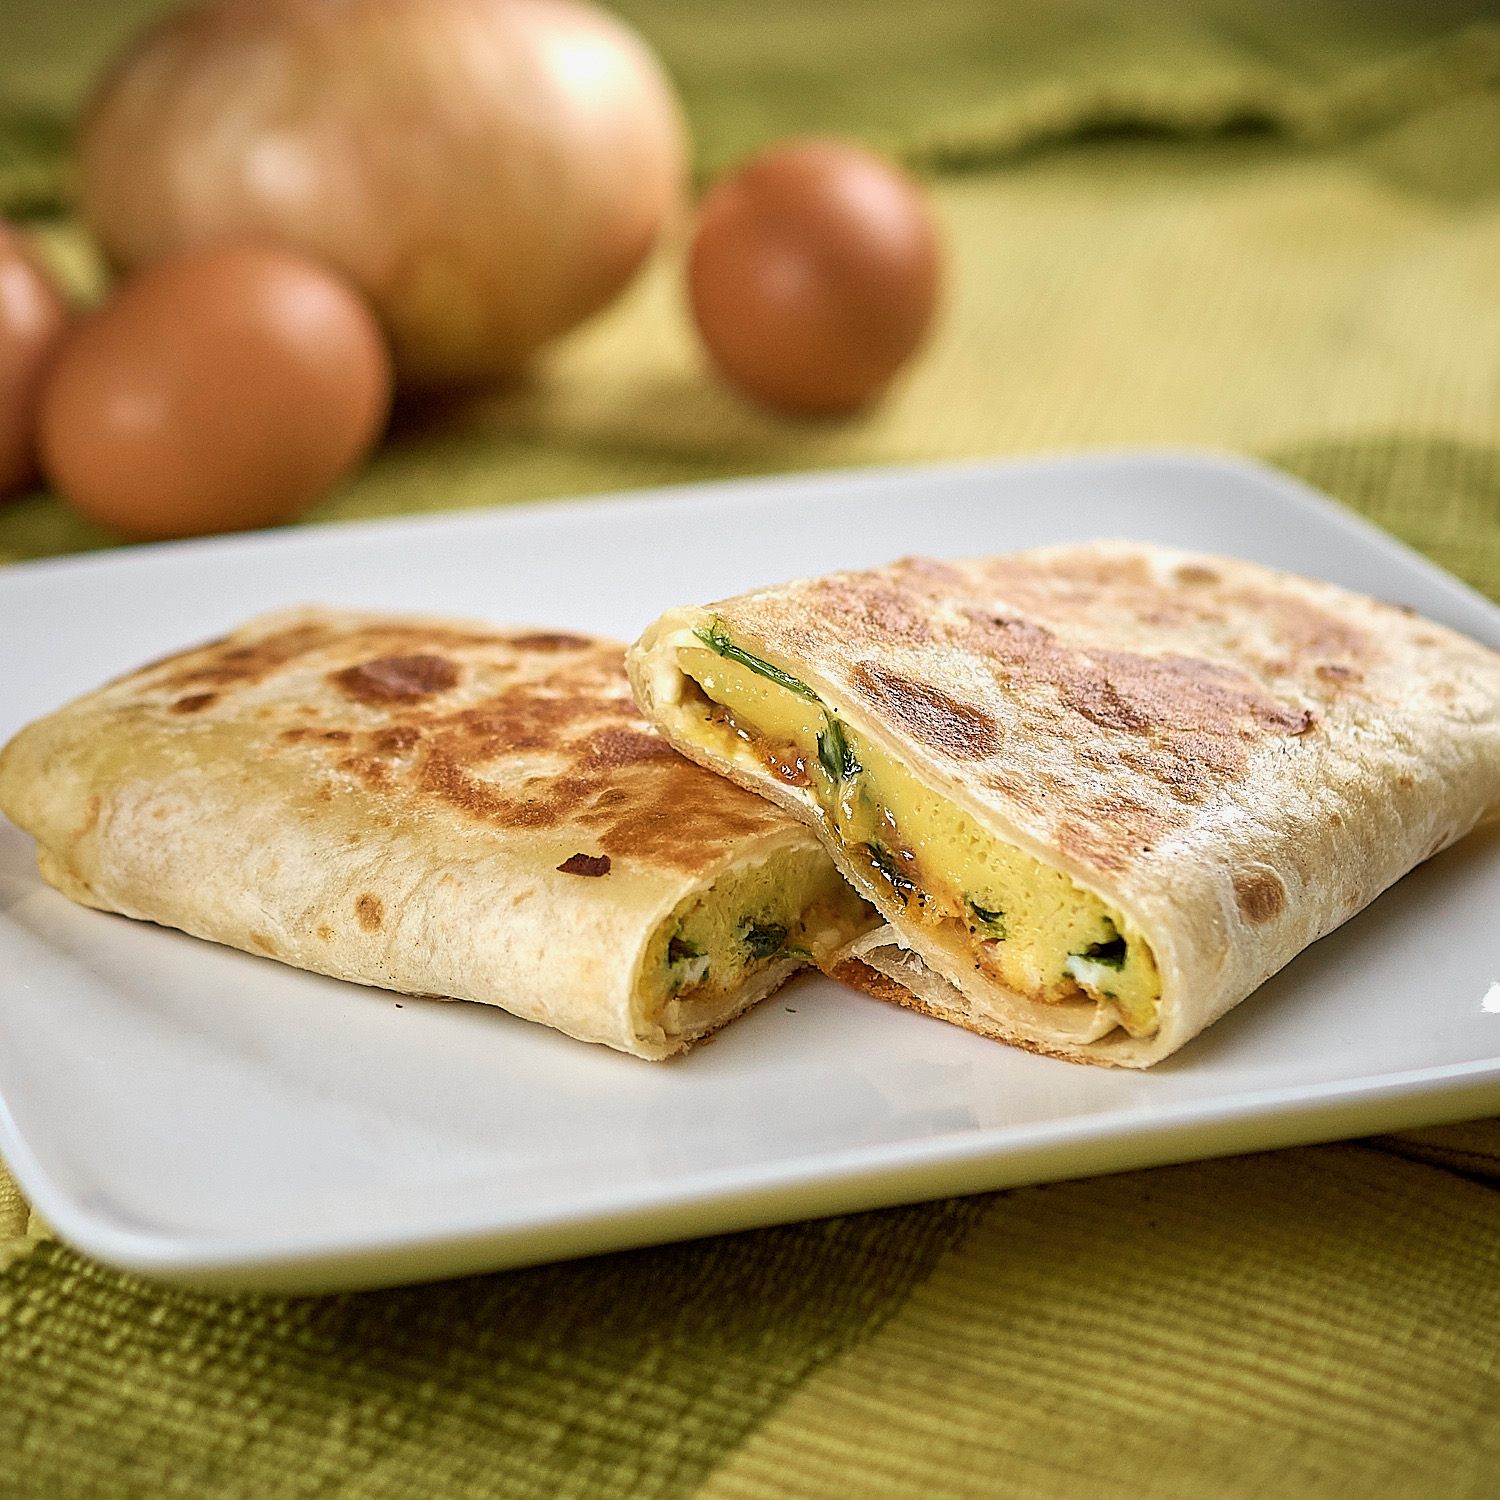
One of my sons recently landed a great, first, full-time job in NYC, which is no small feat in today’s tough job market! He’s decided (very intelligently) to live at…
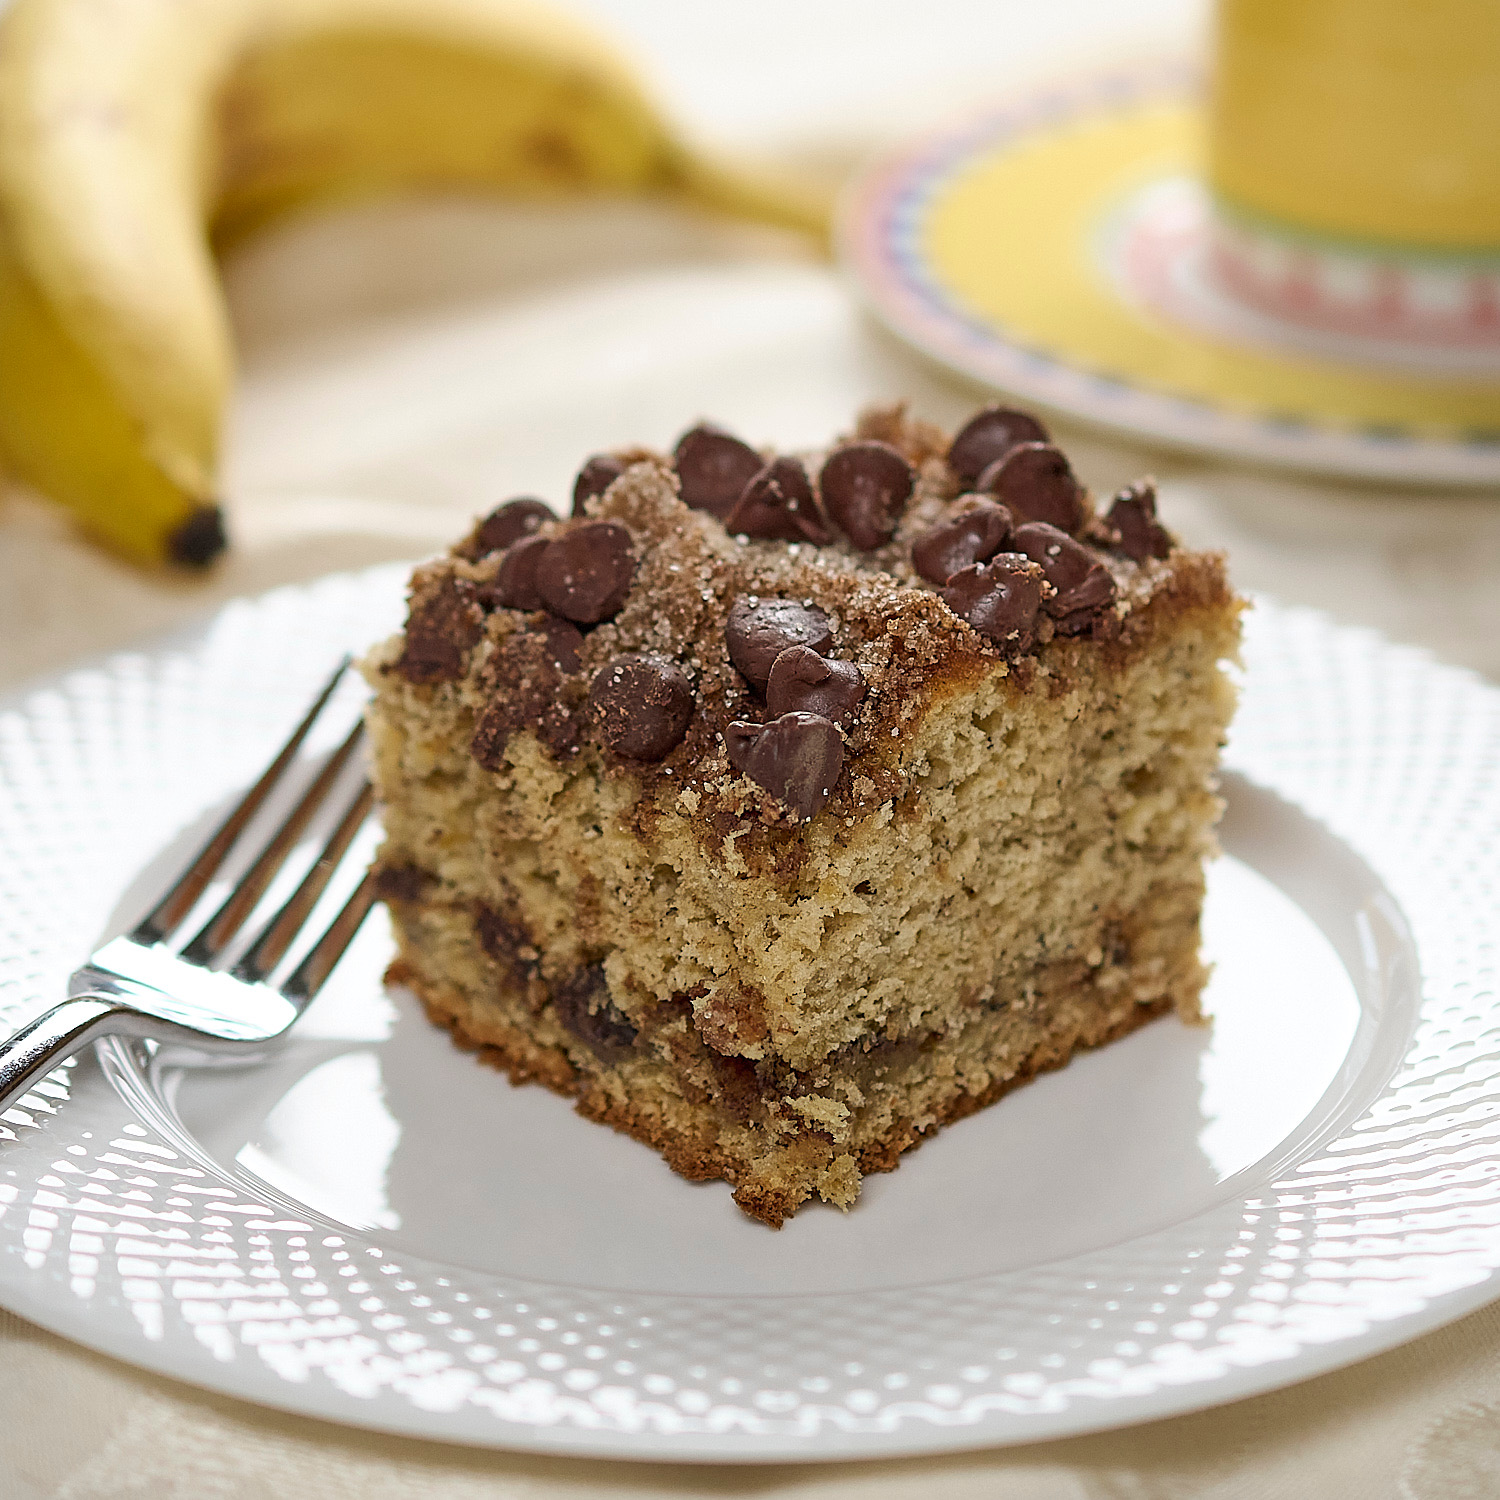
Oh boy, is this cake good! If you have extra bananas sitting around and are looking for something to make other than traditional banana bread, this recipe is for you.…
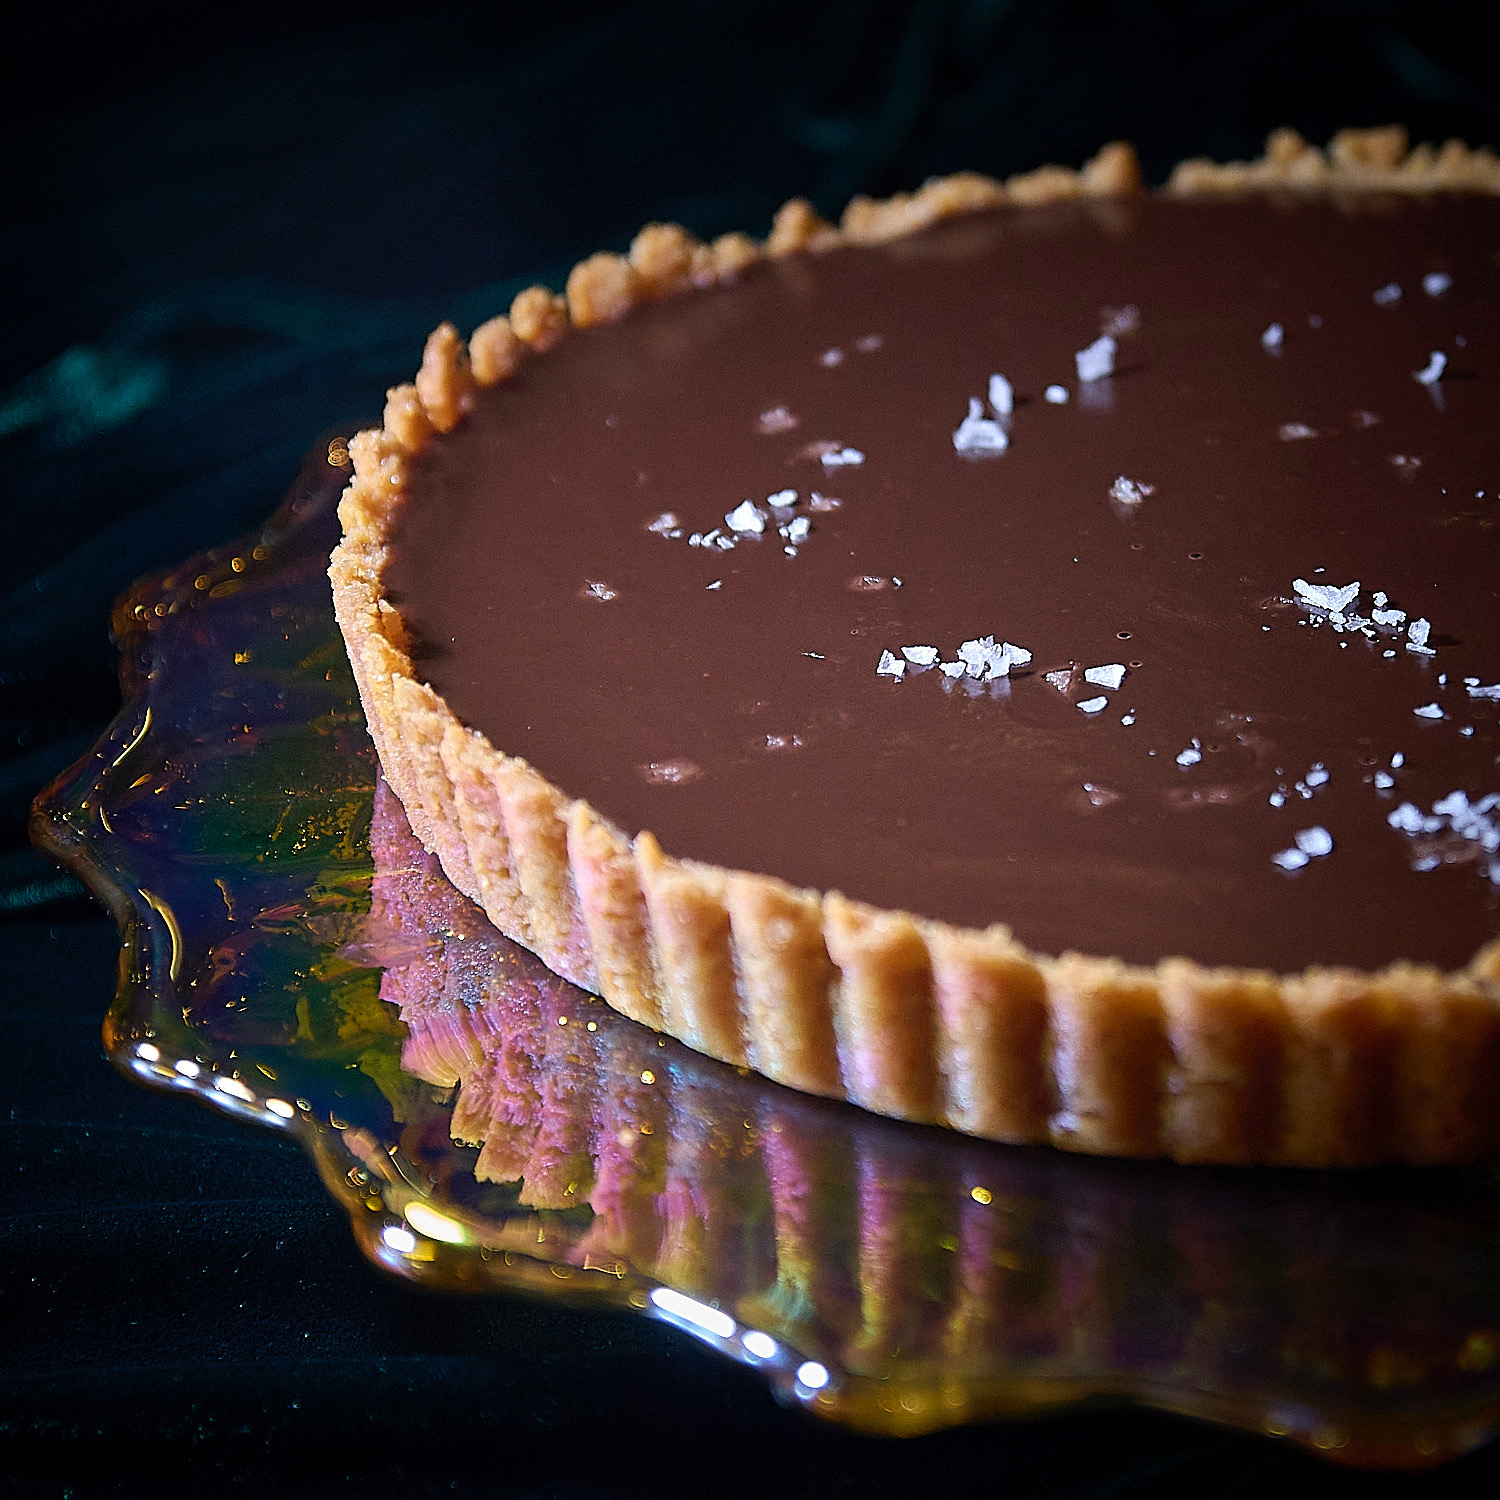
I periodically receive recipes in my inbox from a chef named Erin French, owner of a restaurant called The Lost Kitchen in an old mill in Freedom, Maine. A reservation…
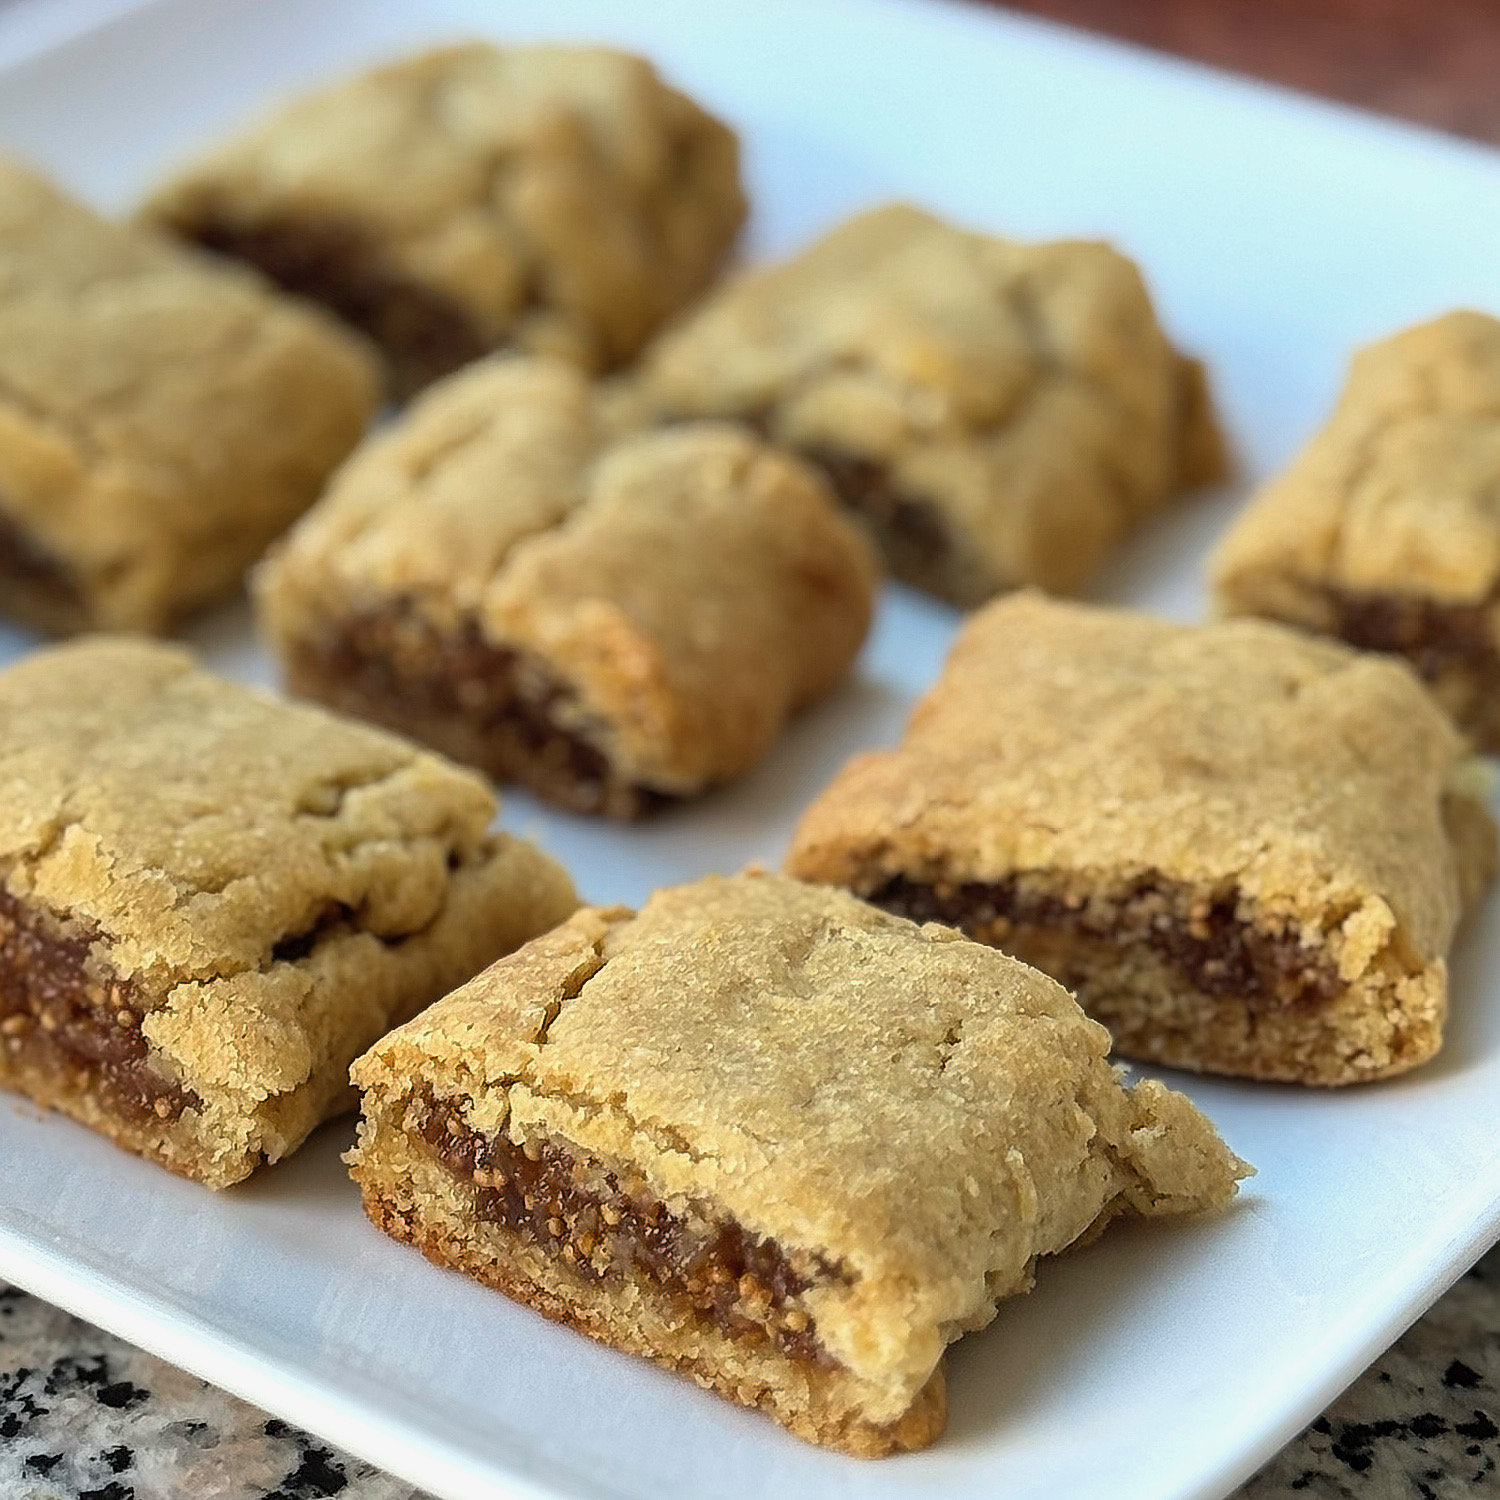
Making homemade Fig Newtons takes a bit of time, but they're not difficult to make and they do indeed taste like the cookies you buy at the supermarket. The outer…
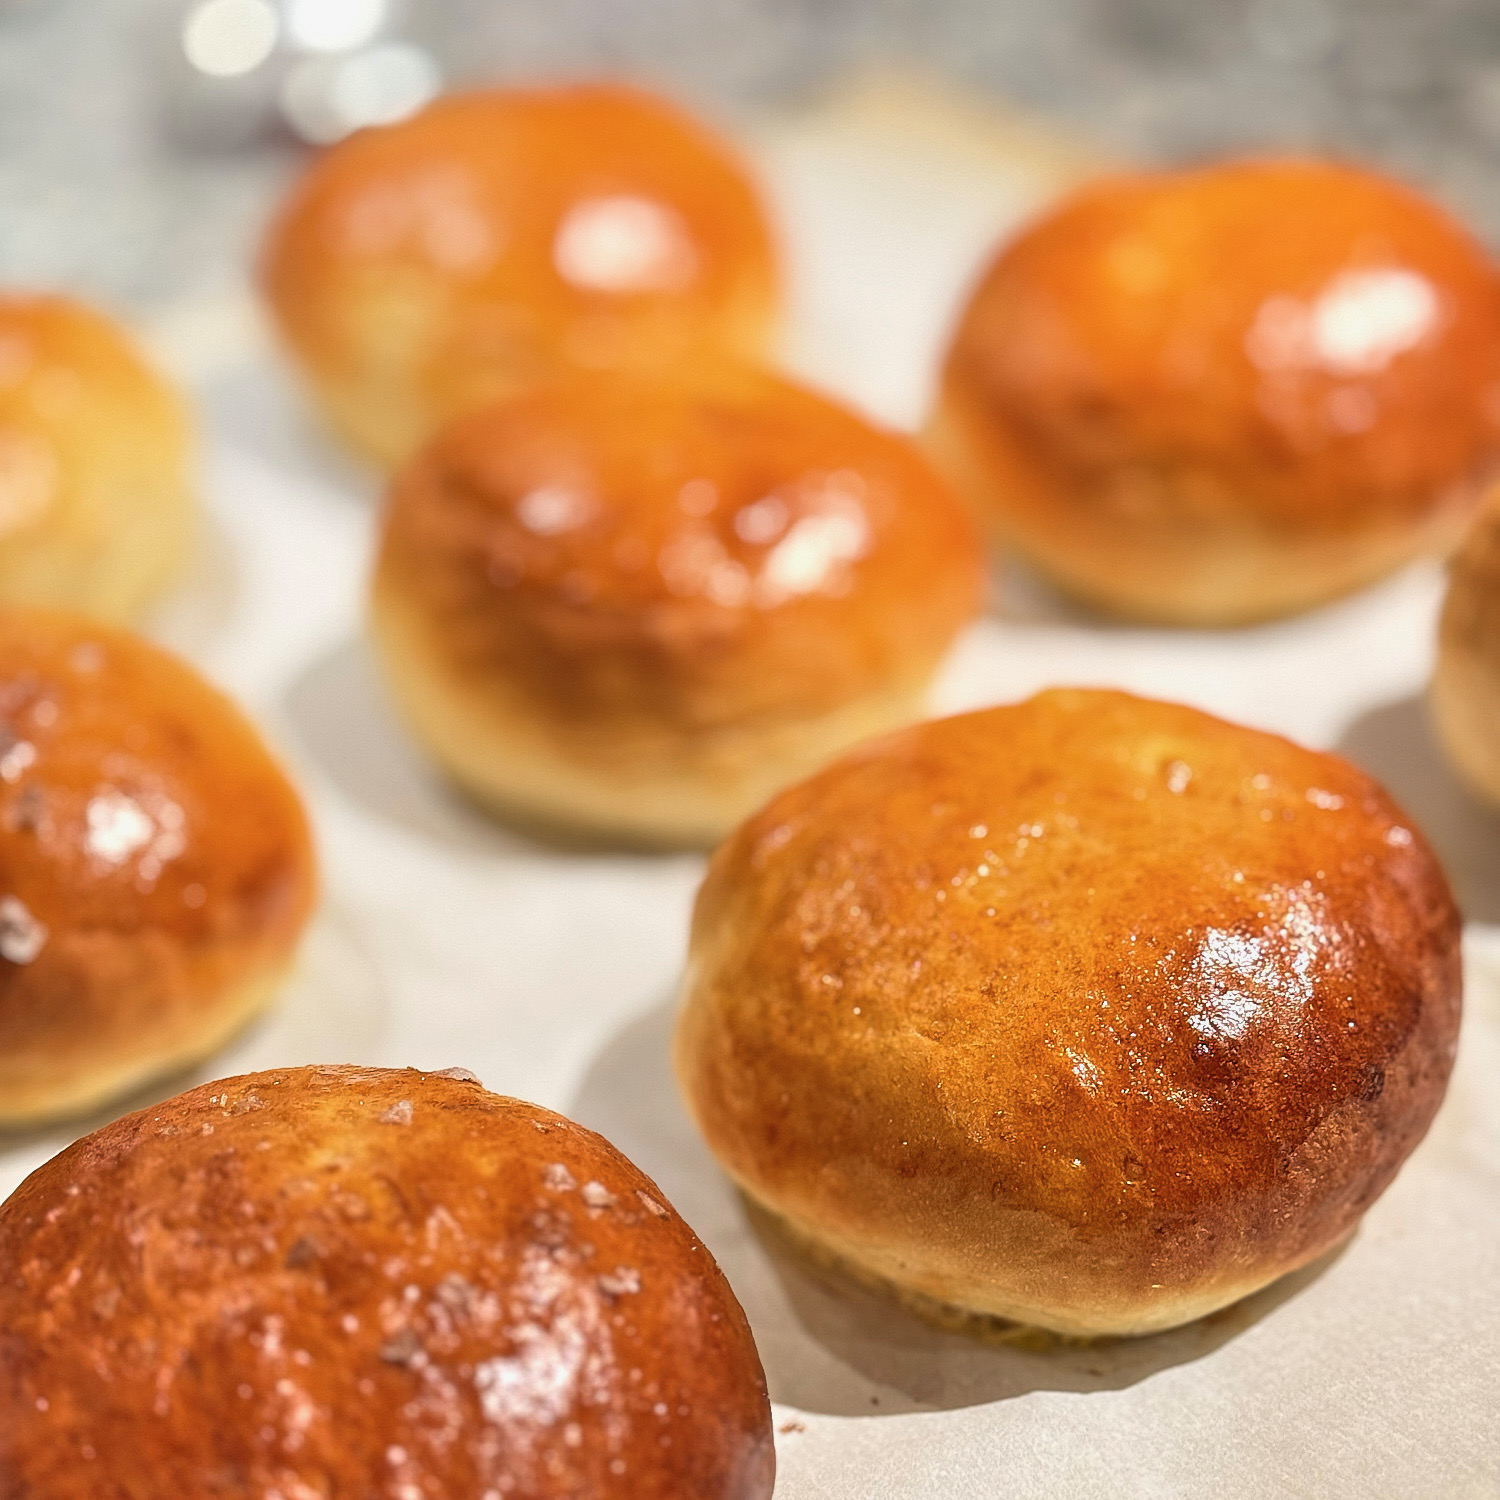
These hamburger buns are awesome! The best thing about them is that they don't require any rising time. That's huge in my book. You can have these hamburger buns in…